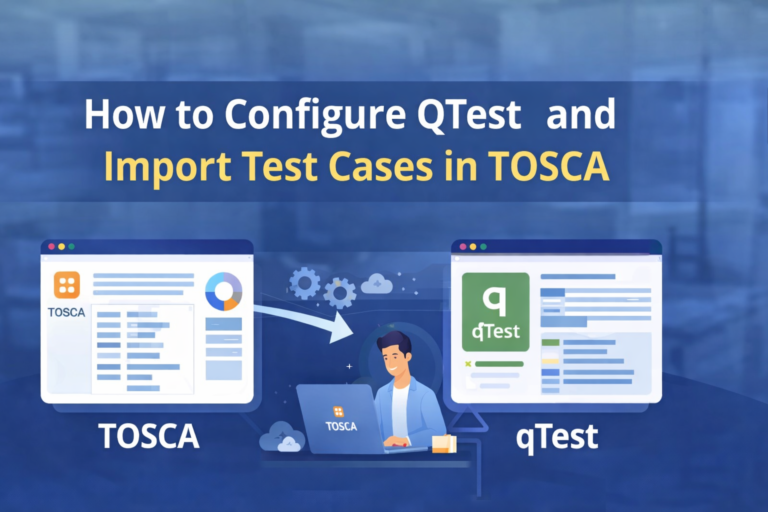
Introduction
Modern QA teams rely on strong test management and automation working together. When you connect Tricentis TOSCA with qTest, you create a clear flow between automated execution and centralized test tracking. This guide explains Configure QTest and Import Test Cases step by step so you can manage requirements, executions, and results in one connected system.
At H2K Infosys, our TOSCA Training programs focus on real-world automation workflows that match what enterprise QA teams use every day. This article helps you understand not just the “how,” but also the “why” behind each configuration step.
What Does It Mean to Configure QTest and Import Test Cases in TOSCA?
When you Configure QTest and Import Test Cases, you connect TOSCA’s automation engine with qTest’s test management platform. This integration allows you to:
- Manage test objectives and releases in qTest
- Execute automated test cases from TOSCA
- Push execution results back into qTest
- Maintain traceability between requirements, test cases, and defects
This setup supports compliance, reporting, and team collaboration across development, QA, and business stakeholders.
Why Enterprises Use TOSCA and qTest Together
Industry research shows that organizations using integrated test management and automation reduce regression testing time by up to 40 percent. Large companies in banking, healthcare, and retail rely on this integration to meet compliance and release quality standards.
By learning how to Configure QTest and Import Test Cases, QA professionals gain skills that align with enterprise test strategies and career growth paths linked to TOSCA Certification and TOSCA Online Training programs.
Prerequisites Before You Begin
Before you Configure QTest and Import Test Cases, make sure you have the following ready:
- Tricentis TOSCA installed on your system
- Access to a qTest instance
- qTest Server URL
- Valid qTest API Key
- Permissions to access TOSCA Server Settings
These are the same setup steps followed in real corporate QA environments.
System Overview Diagram
Here is a simple workflow view:
TOSCA Automation → qTest Integration Layer → qTest Test Management
This flow ensures that test execution in TOSCA automatically updates test status in qTest.
Step 1: Access TOSCA Server Settings

To start the process to Configure QTest and Import Test Cases, follow these steps:
- Open TOSCA Commander
- Navigate to TOSCA Server
- Click on Settings
- Locate the qTest Integration section
This section holds all configuration fields that connect both platforms.
Step 2: Enter the qTest URL
The first field you must complete is the qTest URL.
What Is the qTest URL?
The qTest URL is the web address of your qTest instance. It tells TOSCA where to send test data and results.
How to Enter It
- Copy the full URL from your qTest browser session
- Paste it into the qTest URL field in TOSCA Settings
- Click Save
This step ensures a secure communication path between the two systems.
Step 3: Generate and Enter the API Key
To continue to Configure QTest and Import Test Cases, you need an API Key.
How to Get the API Key in qTest
- Log in to your qTest project
- Select Download qTest Resources
- Open the Integration with TOSCA section
- Copy the API Token displayed
How to Use It in TOSCA
- Return to TOSCA Server Settings
- Paste the token into the API Key field
- Save the configuration
This key authenticates your TOSCA system with qTest securely.
Step 4: Activate the qTest Integration Toggle
The final setup step is to activate the connection.
How to Activate
- Locate the Activate qTest Integration option
- Turn the toggle button ON
- Save the settings
Once active, TOSCA can send test data directly into qTest.
This completes the basic process to Configure QTest and Import Test Cases at the system level.
Step 5: Verify the Integration
Verification ensures that your connection works before importing test cases.
How to Verify
- Open a sample test case in TOSCA
- Run a small execution
- Check qTest for the test result update
If results appear in qTest, the integration is successful.
Step 6: Import Test Cases from qTest into TOSCA

Now that the systems are connected, you can Configure QTest and Import Test Cases directly into your automation workspace.
Import Process
- Open TOSCA Commander
- Go to the TestCase Design section
- Select Import from qTest
- Choose the project and release
- Select the test cases
- Click Import
TOSCA will create automation-ready test cases from qTest records.
Mapping qTest Test Cases to TOSCA Modules
Once imported, you need to link test steps to TOSCA modules.
Best Practice Mapping Flow
- Identify UI or API modules in TOSCA
- Drag modules into test cases
- Assign input values and verifications
This step turns manual test cases into reusable automation assets.
Real-World Use Case Example
A financial services company used this setup to automate regression testing for its online banking platform.
Results
- Reduced test cycle time by 35 percent
- Improved audit reporting through qTest dashboards
- Increased release confidence
By learning how to Configure QTest and Import Test Cases, QA engineers matched real enterprise testing workflows.
Common Errors and How to Fix Them
| Issue | Cause | Solution |
| API Authentication Error | Invalid API Key | Regenerate token in qTest |
| No Results in qTest | Toggle Disabled | Activate qTest Integration |
| Import Fails | URL Incorrect | Verify qTest URL |
Best Practices for Long-Term Success
- Store API keys securely
- Test integration after system updates
- Keep test case naming consistent
- Use version control for automation assets
These practices support career growth in tosca automation testing roles.
Career Benefits of Learning This Integration
Professionals who can Configure QTest and Import Test Cases gain skills in:
- Test governance
- Automation architecture
- Enterprise QA reporting
- Compliance workflows
These skills align with job roles such as Automation Engineer, QA Lead, and Test Manager.
How H2K Infosys Supports Your Learning Journey
At H2K Infosys, our TOSCA Training programs focus on:
- Live system configuration labs
- Enterprise test management integration
- Resume-focused project work
- Mock interview preparation
This approach supports learners aiming for TOSCA Certification and advanced automation roles.
Step-by-Step Recap Checklist
Here is a quick review of how to Configure QTest and Import Test Cases:
- Install TOSCA and access Server Settings
- Enter qTest URL
- Generate and paste API Key
- Activate Integration Toggle
- Verify connection
- Import test cases
- Map modules and automate steps
Key Takeaways
Learning to Configure QTest and Import Test Cases connects automation with test management. This integration improves reporting, compliance, and team collaboration. It also builds job-ready skills valued by enterprise QA teams and hiring managers.
Final Thoughts
The ability to Configure QTest and Import Test Cases helps QA professionals move beyond basic automation and into enterprise test strategy roles. It strengthens your profile for advanced testing and leadership positions in software quality engineering.
Ready to master enterprise-grade TOSCA Online Training with real system integrations? Join H2K Infosys today and start building automation skills that employers value in 2026 and beyond.