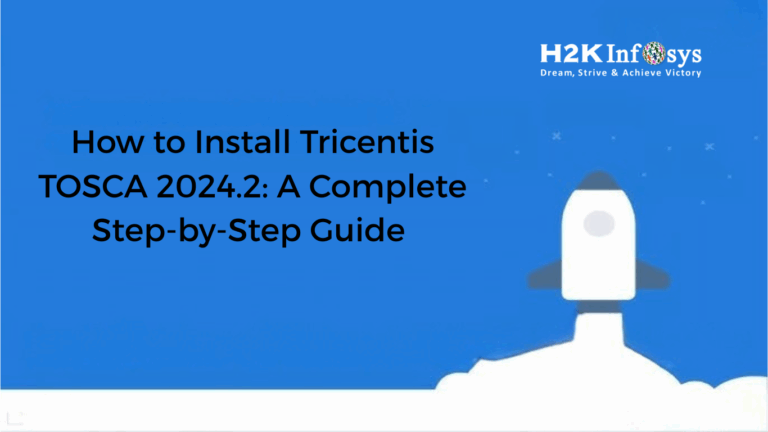
Introduction
To install Tricentis TOSCA successfully, especially in enterprise environments, careful planning and a step-by-step approach are essential. This guide covers every critical step based on official documentation. Whether you’re starting TOSCA Training Online or enrolling in a TOSCA Automation Course, you’ll learn how to install Tricentis TOSCA with confidence.
Step 1: Preparation Before Install Tricentis TOSCA
1.1. Verify System Requirements
Ensure all prerequisites are met:
- Supported Windows versions
- .NET Framework and Microsoft Visual C++ Redistributable Packages.
- Administrative rights
- Sufficient RAM and disk space
1.2. Check Required Network Ports
Open necessary ports for:
- Tosca Commander communication
- Tosca Server modules
- Tricentis License Server (on-premises setups)
Step 2: Download Required Installation Packages
Obtain the following installation files from Tricentis resources:
Tricentis_Tosca_<version>_LTS.zip
Tosca_Server_<version>_LTS.zip  (if using Tosca Server)
Tricentis_License_Server_<version>.zip  (for on-premises licensing)
Tosca_OSV_<version>_LTS.zip
Step 3: Choose Installation Mode
You can install using:
- Interactive Setup: Via a user-friendly installer wizard.
- Unattended Setup: For automated enterprise deployment using configuration files and command-line switches.

Step 4: Install Tosca Components
4.1. Install Tosca Commander (Client)
- Run the setup executable.
- Choose the destination path and components.
- Accept license agreement.
- Select additional options like sample workspace or TBox components.
- Complete the installation and restart if required.
4.2. Install Tosca Server (Optional)
If Tosca Server features are needed (Analytics, Distributed Execution, etc.):
- Use the separate Tosca Server installer.
- Choose services to install (e.g., Distributed Execution, User Administration).
- Configure using the Configuration Wizard.
- Ensure web services and HTTPS are properly configured.
4.3. Install Tricentis License Server (Optional)
To enable licensing:
- Extract the license server ZIP.
- Run the installer and set a listening port.
- Upload a license file via the Admin UI.
- Start the License Service.
4.4. Install Tosca OSV (Optional)
If using service virtualization:
- Install OSV after Tosca Server.
- Configure OSV endpoints and connect to Tosca Commander.
- OSV integrates with ExecutionLists to simulate APIs and services.
Step 5: Post-Installation Setup
5.1. Configure Tricentis Tosca
- Launch Tosca Commander.
- Choose to create a new workspace.
- Add the Standard.tsu subset.
- Configure default settings under Options > Project > General.
5.2. License Management
- For cloud licensing, activate using Tricentis account credentials.
- For on-premises, enter server address and port.
- Assign licenses per component (Tosca Commander, Server, OSV).
Step 6: Create a New Workspace
- Navigate to File > Create Workspace.
- Choose database type (SQLite, MS SQL, Oracle, DB2).
- Name your workspace and select Standard.tsu during setup.
- Use multi-user workspace if team collaboration is required.

Step 7: Configure User Management (For Tosca Server)
If Tosca Server is configured with HTTPS:
- Use Tricentis User Administration.
- Add users and assign roles (Tester, Architect, Admin).
- Connect Tosca Commander to Server through Admin settings.
Step 8: Understand Workspace Automation (Advanced)
Use TCShell.exe to:
- Automate workspace creation
- Run repository migrations
- Schedule nightly test runs
- Perform post-deployment validations
This is essential in enterprise DevOps pipelines.
Step 9: Fine-Tune Configuration Files
Key files include:
TOSCACommander.exe.config
DbRepositorySchemaMigrator.dll.config
Execution.config
Use these to customize behavior like logging, max retries, and execution behavior.
Step 10: Test Installation Integrity
10.1. Launch Tosca Commander
Ensure it opens without errors and licenses are loaded.
10.2. Open Sample Workspace
Navigate modules and test case structure to ensure integrity.
10.3. Run Sample Test Case
Validate that a sample test case runs and logs appear in ExecutionLists.
Key Takeaways
- Follow installation sequence strictly: Client → Server → Licensing → OSV.
- Always use Standard.tsu when creating a new workspace.
- Ensure licenses and ports are correctly configured before use.
- Use configuration files and command-line automation for enterprise environments.
Conclusion
Tricentis Tosca installation is a structured, manageable process when broken into logical steps. From downloading packages to launching your first test, this guide ensures you’re fully prepared to install Tricentis TOSCA. Now that your setup is complete, start exploring Tosca’s powerful automation features with confidence. Whether you’re enrolled in a TOSCA Automation Course or learning independently, you’re now ready to install Tricentis TOSCA and advance your journey in the world of continuous testing.