Introduction
Software testing has rapidly evolved, and today’s QA teams aim for maximum efficiency while maintaining accuracy. Manually entering test data is not just slow, but it also increases the risk of human error. A smarter way is to let automation frameworks handle data dynamically. That’s where Data Driven Testing with Excel File in TOSCA makes a huge impact.
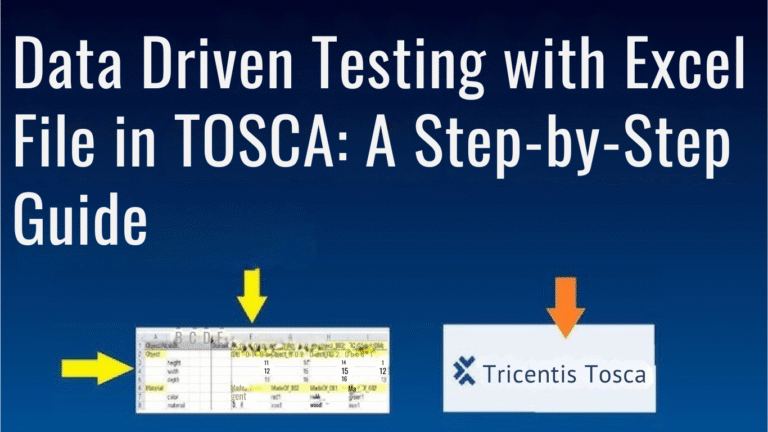
This guide will walk you through the entire process starting from reading an Excel file, defining ranges, using buffer variables, repeating test steps, and finally applying the values to an application screen. By the end, you’ll understand how to automate real-world use cases using TOSCA Training Online techniques.
Why Choose Data Driven Testing in TOSCA?
Data Driven Testing with Excel File is a proven method to drive automation with reusable datasets. Excel files store large amounts of structured test data, while TOSCA integrates seamlessly to execute test cases with those values.
Key Benefits:
- Reusability of test cases with dynamic data.
- Reduction in test maintenance efforts.
- Scalability when working with multiple datasets.
- Automation of repetitive tasks without duplication.
This is why TOSCA Automation professionals rely on Data Driven Testing with Excel File approaches to test web, desktop, and enterprise applications efficiently.
Preparing the Test Data File
The first step in this journey is to create a structured dataset in Excel. Each column represents an input field, and each row represents a test record.
- Open Excel and create a file named:
AutomobileVehicleInsurance_AllPages_TestData.xlsx - Add sample columns like Make, EngPerf, DOM, Seats, FuelType, LicensePlate, AnnualMileage.
- Save the file in your local directory, for example:
C:\Users\raoh2\OneDrive\Desktop\H2kInfosys\Tosca\AutomobileVehicleInsurance_AllPages_TestData.xlsx.

By keeping your data structured, you ensure that Data Driven Testing with Excel File works flawlessly during automation runs.
Step 1: Open Excel File in TOSCA
Inside TOSCA Commander:
- Create a new folder and test case.
- Add TBox Open Excel Workbook.
- Workbook Name: TestData.
- Path: Path to the Excel file.
- Create New: Set to False.
- Workbook Name: TestData.
This connects your test case to the actual Excel dataset and ensures that Data Driven Testing with Excel File reads from an existing source rather than creating a new one.
Step 2: Define Excel Range
Add the TBox Define Excel Range module to tell TOSCA which cells to use.
- Workbook Name: TestData.
- Worksheet Name: VehicleData.
- Range Name: VehicleTestDataCellRange.
- Start Cell: A1.
- End Cell: H3.
This specifies the range of values that will be used for Data Driven Testing with Excel File.
Step 3: Manipulate Excel Range
Now add the TBox Excel Range Manipulation module.
- Range Name: VehicleTestDataCellRange.
- Data Table: Add $lastContentRow.
- Under Value: select .RowNumber->TotalRows.
- Action Mode: Buffer.
This step captures the total number of rows in your Excel file and stores it in the buffer variable TotalRows.

Capturing row numbers correctly is an essential part of Data Driven Testing with Excel File, as it ensures accurate looping during execution.
Step 4: Set Up Repetition for Test Execution
To iterate through all Excel rows dynamically:
- Create a folder inside your test case called RepeatStep.
- In its properties, set Repetition = {B[TotalRows]}.
This tells TOSCA to loop for the number of rows detected. - Move the TBox Excel Range Manipulation step under RepeatStep.
- Copy and paste it into the folder, but remove the $lastContentRow row.

Without this setup, Data Driven Testing with Excel File would only pick a single row, defeating its purpose.
Step 5: Add Math Functions for Iteration
Inside the RepeatStep folder, configure iteration logic:
- Add a math expression with:
#{MATH[{Repetition}+1]}
This ensures each row is read sequentially, starting from row 2 in Excel (since row 1 usually has headers).
- Replace cells with identifiers #1, #2, #3 etc., mapping them to columns such as Make, EngPerf, DOM, and Seats.
- Set Action Mode = Buffer so each column value is stored dynamically.
This is the backbone of Data Driven Testing with Excel File, where dynamic row iteration is achieved.
Step 6: Apply Buffers to Application Fields
Once values are buffered, map them to the target application’s fields.
- Add the Enter Vehicle Data step (ensure the Vehicle Information page is already scanned as a module).
- Map buffer variables to fields:
- Make = {B[Make]}
- Engine Performance = {B[EngPerf]}
- Date of Manufacture = {B[DOM]}
- And so on for Seats, Fuel Type, License Plate, Mileage.
- Make = {B[Make]}

This part of Data Driven Testing with Excel File shows how buffered values can be injected into application screens automatically.
Step 7: Close the Workbook
Finally, release resources by adding TBox Close Excel Workbook:
- Workbook Name: TestData.
- Path: Same as in the opening step.
- Save: Set to False.
Closing the workbook is important for maintaining stability in Data Driven Testing with Excel File, especially when working with multiple iterations.
Real-World Example
Consider a Vehicle Insurance application requiring data from 100 vehicles. Without data-driven logic, you’d create 100 different test cases. With Data Driven Testing with Excel File, you only maintain one Excel file with 100 rows, and TOSCA automatically repeats the test steps for all records.
This boosts efficiency, reduces redundancy, and ensures consistency across test executions.
Best Practices
- Always keep headers in Excel files for clarity.
- Use descriptive buffer names like {B[LicensePlate]}.
- Validate buffer variables before applying them to screens.
- Keep file paths organized in a shared location for team collaboration.
- Close Excel workbooks after every run to prevent file locking.
Following these guidelines makes Data Driven Testing with Excel File smoother and more reliable.
Common Pitfalls to Avoid
- Forgetting to set Create New = False when opening workbooks.
- Inconsistent workbook names between steps.
- Skipping repetition setup, leading to only one row being tested.
- Not mapping buffer variables correctly to application fields.
Avoiding these mistakes ensures that Data Driven Testing with Excel File runs successfully every time.
How This Supports TOSCA Training Online
Every step described here from opening Excel to applying buffer variables is commonly taught in structured TOSCA Tutorial sessions. Mastering these techniques ensures you can handle real-world automation projects with confidence.
By combining theory with practical execution, testers gain hands-on skills that align perfectly with industry expectations and prepare them for projects where Data Driven Testing with Excel File is the standard practice.
Key Takeaways
- Data Driven Testing with Excel File helps scale automation without duplicating test cases.
- TOSCA’s Excel Range Manipulation combined with buffers ensures dynamic execution.
- Repetition logic allows automated looping across multiple rows.
- Buffer variables map seamlessly to application fields.
- Closing workbooks is essential for smooth execution.
Conclusion
Adopting Data Driven Testing with Excel File in TOSCA is a smart way to simplify automation, reduce manual effort, and ensure test accuracy. By following the structured steps create Excel file, define ranges, capture row counts, repeat steps, apply buffer values, and close workbooks you can implement robust, reusable test automation.